Imagine diving into sparkling blue waters on a sunny day, feeling refreshed and rejuvenated. Gunite pools, known for their durability and flexibility, can provide years of enjoyment. However, just like any other structure, they require renovation and maintenance. If you’re ready to embark on a gunite pool renovation journey, this comprehensive guide will show you how to prepare efficiently and ensure a successful transformation. We’ll explore the cost, step-by-step preparation process, and answer common questions homeowners may have.
Understanding Gunite Pool Renovation
Before we dive into the preparations, let’s first understand what a gunite pool renovation entails. Gunite, a mixture of cement, sand, and water, is pneumatically applied to form the structure of the pool. Over time, due to exposure to various factors like weather and chemicals, the pool surface may develop cracks, stains, or other imperfections. Renovation focuses on restoring the beauty and functionality of the pool through resurfacing, coping repairs, and other necessary repairs. Are you thinking about Can You Expand a Gunite Pool
Assessing the Cost of Gunite Pool Renovation
One essential aspect of preparing for a gunite pool renovation is evaluating the potential costs involved. Several factors influence the total cost, such as the size of the pool, the extent of repairs needed, and the choice of materials. While the exact estimate can vary, the average gunite pool renovation cost ranges from $10,000 to $30,000. It’s crucial to plan your budget accordingly and factor in any additional expenses that may arise during the process.
Preparing for Gunite Pool Renovation: Step-by-Step Guide
To ensure a smooth and successful gunite pool renovation, it’s essential to follow a step-by-step preparation guide. Let’s explore each stage in detail:
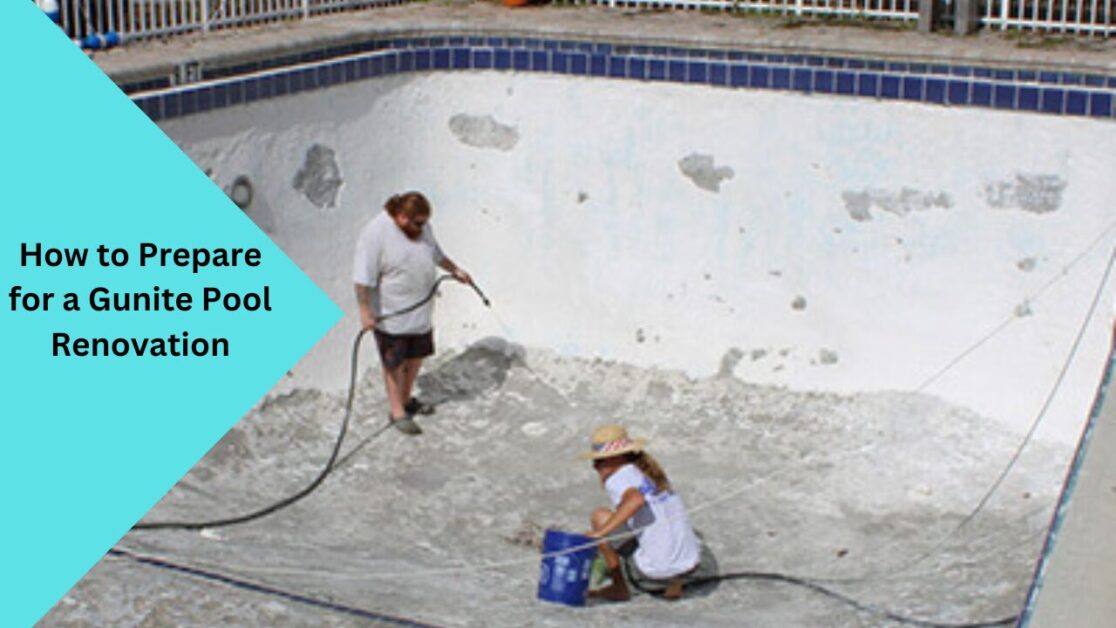
Step 1: Clearing and Draining the Pool
Before the renovation process can begin, it’s necessary to clear the pool area and drain the water completely. This step ensures that the surface is ready for inspection, repairs, and resurfacing. Be mindful of environmental regulations while draining the water to prevent any negative impact on your surroundings.
To explore more details and considerations regarding Draining, our comprehensive guide on How to Drain Last Bit of Water from Your Pool? has you covered.
Step 2: Inspection and Repairs
Once the pool is cleared and drained, a thorough inspection should be conducted to assess the condition of the structure, equipment, and other pool components. Identify any cracks, leaks, or damage that requires repair. Hiring a professional pool contractor or inspector can help ensure all potential issues are addressed.
Step 3: Selecting the Right Pool Renovation Materials
Choosing the appropriate materials for your gunite pool renovation is crucial for its long-term durability and aesthetic appeal. Whether you opt for plaster, pebble, or alternative finishes, consider factors such as durability, maintenance requirements, and the overall look you desire. Consult with professionals to determine the best options for your specific needs.
Step 4: Hiring Professionals for the Renovation Process
While some homeowners may prefer a DIY approach, hiring experienced professionals for your gunite pool renovation is highly recommended. Pool contractors possess the knowledge, skills, and equipment necessary to ensure a high-quality and efficient renovation. Research and select a reputable contractor who specializes in gunite pool renovations.
Step 5: Creating a Renovation Timeline
Establishing a renovation timeline is essential to manage the project efficiently. Discuss the timeline with your chosen contractor and consider factors like weather conditions, availability of materials, and any potential delays. A clear timeline ensures all necessary steps are completed in the right order and within the expected timeframe.
FAQs About Gunite Pool Renovation
Here, we address some common questions homeowners have when preparing for gunite pool renovation:
How is a gunite pool resurfaced?
Gunite pool resurfacing involves the application of a new layer of plaster, pebble, or other pool finish materials to restore the pool’s surface. The process typically includes draining the pool, repairing any cracks or damage, cleaning the surface, and then applying the chosen pool finish material.
How soon can you swim in a new gunite pool?
After completing a gunite pool renovation, it’s important to allow sufficient time for the newly applied materials to cure. Depending on the materials used, it may take anywhere from a few days to a few weeks before the pool is ready for swimming. Consult with your pool contractor for specific guidelines.
How do I prepare my pool for resurfacing?
Preparing your pool for resurfacing involves clearing and draining the pool, conducting a thorough inspection, and addressing any repairs needed. Additionally, ensure all pool accessories, such as ladders and diving boards, are removed, and the surrounding area is clean and free from debris.
What is the lifespan of a gunite pool?
With proper maintenance and care, a gunite pool can have a lifespan of 20 to 30 years or more. Regular inspections, repairs, and preventative measures can help extend its longevity. Consult with a pool specialist to develop a maintenance plan suited to your specific pool.
Conclusion
Preparing for a gunite pool renovation requires careful planning and consideration of various factors. By understanding the process, assessing the cost, and following a step-by-step guide, you can ensure a successful transformation of your pool paradise. Remember to consult with professionals, select suitable materials, and establish a clear renovation timeline. With the right preparation and execution, you’ll soon be enjoying your refreshed and revitalized gunite pool for years to come.

Greetings, fellow pool enthusiasts! I’m Turner Davis, your dedicated guide to the world of pool care and maintenance. With over a decade of experience in the field, I’ve made it my mission to transform ordinary pools into extraordinary aquatic retreats.